Illustrator Tutorial Crop a Group of Shapes
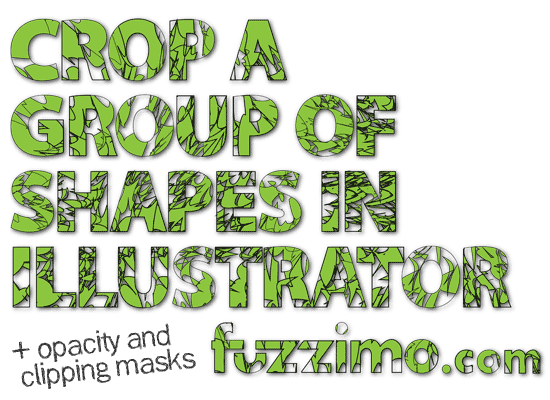
Here’s a basic Illustrator tutorial on how to crop an area from a group of multiple shapes or just hide unwanted parts by using opacity masks or clipping masks. I used these numerous times on things like Vector Rulers or Vector Guitars.
First set up a group of shapes on your artboard. Grab various shape tools and fill an area with different kinds; give them a fill color and no stroke.

Select all by dragging over with the Selection Tool (V) and press Ctrl + G to group them.

To make it more interesting, grab some of the liquify tools (Wrinkle, Crystallize, Wrap etc.) and play around until you get something that you like.
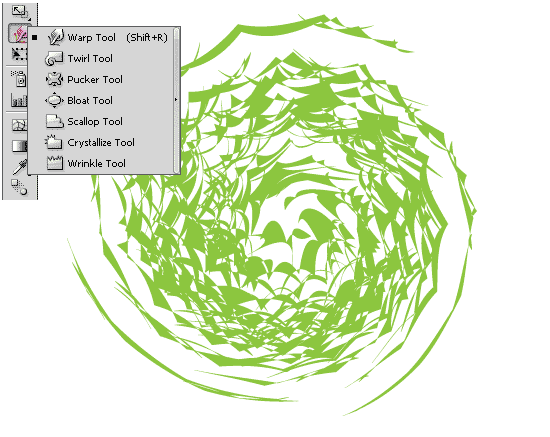
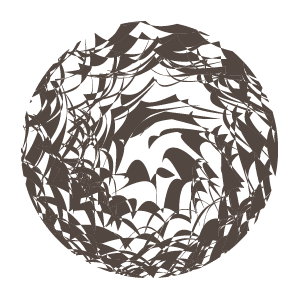
Now let’s say that you needed to hide or crop the group according to a circular shape. Grab the Ellipse Tool (L) and while holding Shift drag a circle over the group. Keep in mind that this will be the starting point for all 3 examples that follow – opacity masks, clipping masks and cropping.
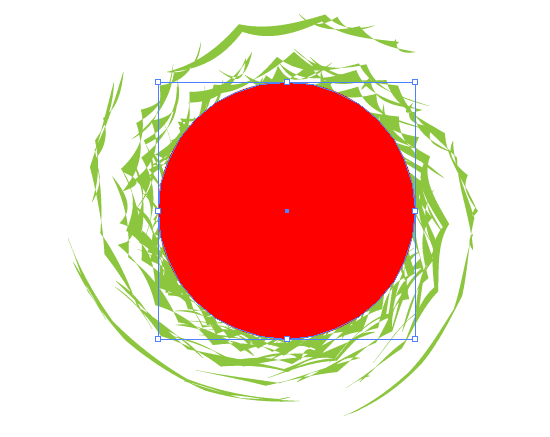
Before using the cropping method, it’s best to use opacity masks or clipping masks while your vector art is a work in progress. This way you can still go back and adjust something if you need to.
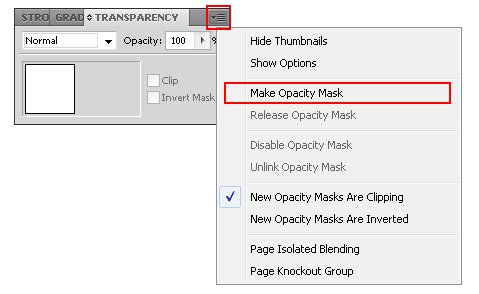
Opacity Masks – Set the circle fill color to white and then select both the group and the circle with the Move Tool (V). In the Transparency Window (if it’s not open, go to top menu Window > Transparency ) click on that little arrow on the upper right corner and from the drop down options select Make Opacity Mask.
Now deselect by clicking on an empty area and you should have something like this:

Working with opacity masks allows you to do cool things like gradient fades. For instance go back (undo Ctrl+Z) to the previous step of having the circle over the group. This time instead of a solid white fill color, give it a black and white gradient and set the Type to Radial.
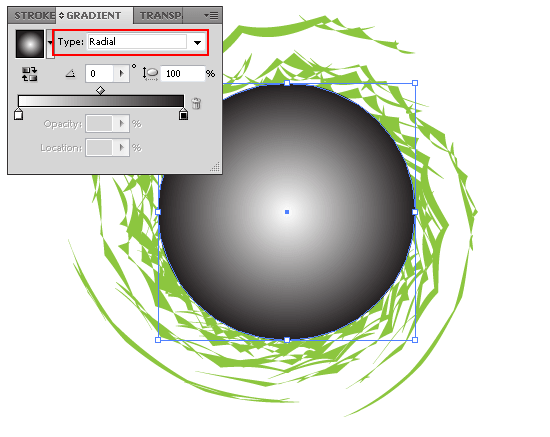
Select all and in the Transparency window go again and click on Make Opacity Mask just as before. You will get something like below.

If you look closely at the above image you will notice that the outer edge is still slightly visible. To fix this, first select your artwork and then in the Transparency Window click on the Opacity Mask to edit it.
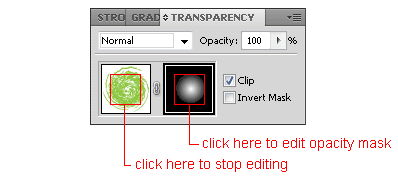
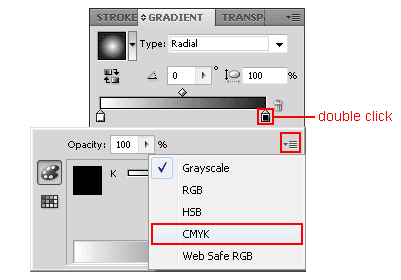
Now go to the Gradient Tab and double click the black color on the gradient slider. In the pop up window, click on the upper right corner arrow and select CMYK.
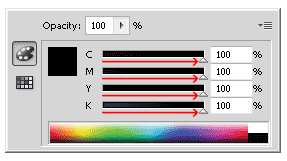
In the CMYK options drag all sliders to 100%.
Go back to the Transparency window and click to stop editing the opacity mask. Now the outer edge is completely transparent.

Clipping Masks – Go back to the starting point artboard (press Ctrl+Z to undo).

Select both the group and the circle with the Move Tool (V) and from the top menu Object > Clipping Mask > Make.

Cropping – When you have a complex group of shapes and you want to get a cleaner artboard for your final work you can also use cropping.
So once again go back to the starting point – a circle over the group.

Select them both and then in the Pathfinder Window (if it’s not open, go to top menu Window > Pathfinder) click on the Crop icon.
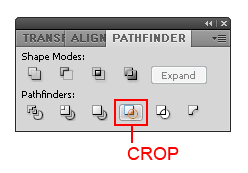
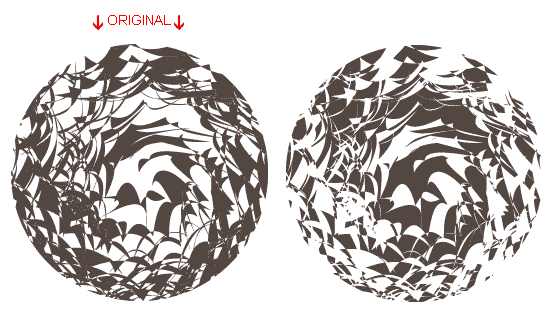
Visually you will get the same result as applying the opacity mask or clipping mask but this time the areas extending outside the circle are cropped out instead of just being hidden.

One thing to note is that the empty areas also become shapes. You can see that if for instance you decide to change the fill color. It fills the empty spaces as well and you get a full circle.
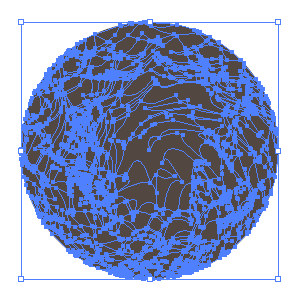
So to get rid of those extra shapes and also be able to easily change the fill colors deselect the group and with the Eyedropper Tool (I) click on a filled area to pick out the fill color. (Note: if you have a lot of other elements on your artboard make sure you don’t have the same fill color anywhere else – if you do, then go back before the cropping and change the fill color to something unique).

Form the top menu Select > Same > Fill Color to select only the green shapes.
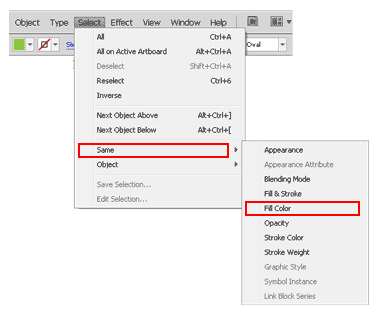
Now that you have only the green areas selected, go to top menu Edit > Cut (Ctrl+X) and before you paste click somewhere in the area to select the remaining colorless shapes. Usually just delete them, but for now drag them to the side.
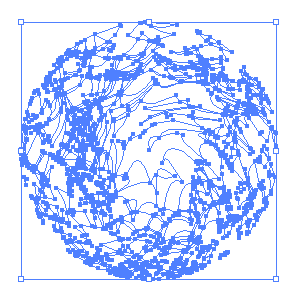
Go to top menu Edit > Paste in Front (Ctrl+F) and while they are still selected press Ctrl+G to group them. Now you can easily change their fill color from green to something else.
Go back to the “invisible” group that you moved out of the way and if you give it a fill color it would be a sort of negative image of your original art.
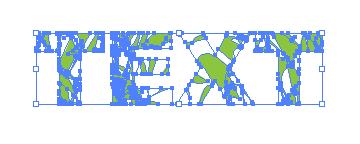
Working with Text – To crop the shapes according to some text, similar to my main post image above, start the same way as before by making some sort of shapes pattern group and then with the Type Tool (T) enter your text.

With the text selected, go to the top menu Object > Expand and click OK and then go to Object > Compound Path > Make. Select both the text and group, and click on crop icon in the Pathfinder window.
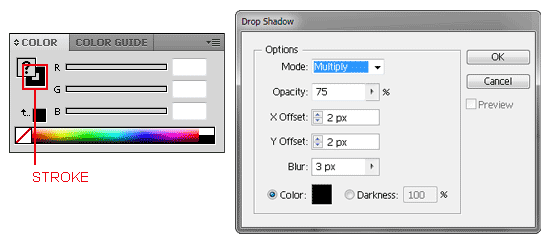
Then give it a black stroke and a shadow (top menu Effect > Stylize > Drop Shadow).
And it should look something like this:

Hope you enjoyed the tutorial! If you have questions or comments drop me a line below. Thanks!

excellent! thanks
As a total amateur when it comes to Adobe I greatly appreciate your tutorials. I am trying to make a font with a vector image as in your last few steps, but when I go to compound the path I just get an error message.
Hi Charlie,
What does the error message say?
Thank you for this. It is exactly what I needed.
Thank you SO MUCH for this post! I’ve been trying for literally an hour to get that text effect and NONE of the other tutorials that I found were helping. This one saved me from asking my prof to trek across campus to lend me a hand. :p THANK YOU!!!
Thank you for your work.I also have some problems when I
Compound Path (Working with Text ),I need your help because I really want to know how to do it.
Hi Zarah,
What problems do you have? Also which version of Illustrator are you using?
thanks man!
thanks a lot. very usefull.